Repository Scheduling Configuration
- Plan Name: Enter whatever you’d like here; this is for identifying your plan in this user interface.
- Repository: Select one of the repositories you created in the previous section.
- Paths: Enter the paths on your device that you’d like backed up.
- Excludes: Case-sensitive paths to exclude from your backups that are contained within the above paths. See the Restic documentation for details.
- Excludes (Case Insensitive): Same as above, but the paths aren’t case sensitive. See the Restic documentation for details.
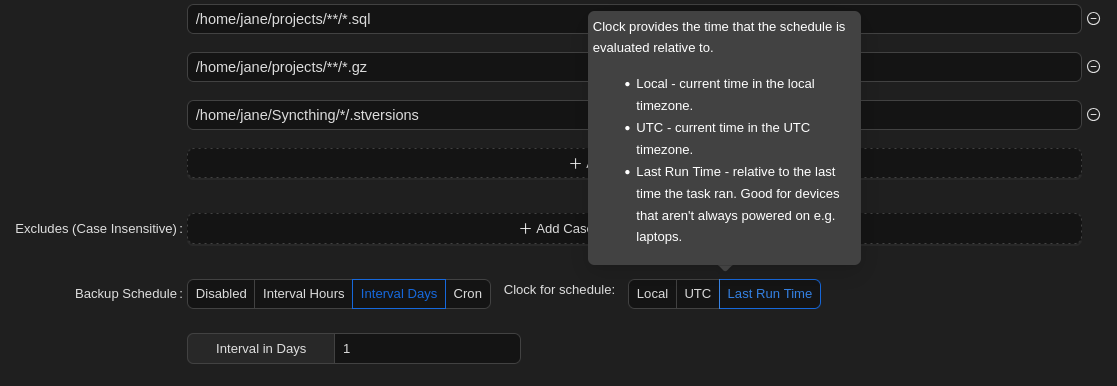
- Backup Schedule: The backup schedule. You can hover over each option for in-line help.
- Backup Flags: Set any options you’d like to add to the backup command. For example, we recommend not creating new snapshots if the files haven’t changed:
--skip-if-unchanged
- Retention Policy: Set this to None because we’ll normally be working with append-only repositories, which don’t allow marking snapshot removals. Instead, we’ll handle this via out-of-band operations, where we temporarily disable append-only mode.
- Hooks: You can hook into operations run here. See Hook Details for more information.
- Preview: This is simply for reviewing how the the above configuration will be stored, which can be helpful for automation.
- Hit the Submit button to save the form.
- After your Plan has been created, while on the Plan, hit the Backup Now button to start your first backup and test you configuration.
Note
If you’re backing up lots of data (either lots of files and/or big files), it may take a while for your backup task to complete. After your first backup, however, there will be fewer changes to upload so backup operations will be quicker.